WalletAccount
Use wallets to sign transactions in your DAPP.
The WalletAccount class is similar to the regular Account class, with the added ability to ask a browser wallet to sign and send transactions. Some other cool functionalities will be detailed hereunder.
The private key of a WalletAccount is held in a browser wallet (such as ArgentX, Braavos, etc.), and any signature is managed by the wallet. With this approach DAPPs don't need to manage the security for any private key.
This class functions only within the scope of a DAPP. It can't be used in a Node.js script.
Architecture

When retrieving information from Starknet, a WalletAccount instance will read directly from the blockchain. That is why at the initialization of a WalletAccount a Provider instance is a required parameter, it will be used for all reading activities.
If you want to write to Starknet the WalletAccount will ask the browser wallet to sign and send the transaction using the Starknet Wallet API to communicate.
As several wallets can be installed in your browser, the WalletAccount needs the ID of one of the available wallets. You can ask get-starknet to display a list of available wallets and to provide as a response the identifier of the selected wallet, called a Starknet Windows Object (referred to as SWO in the rest of this guide).
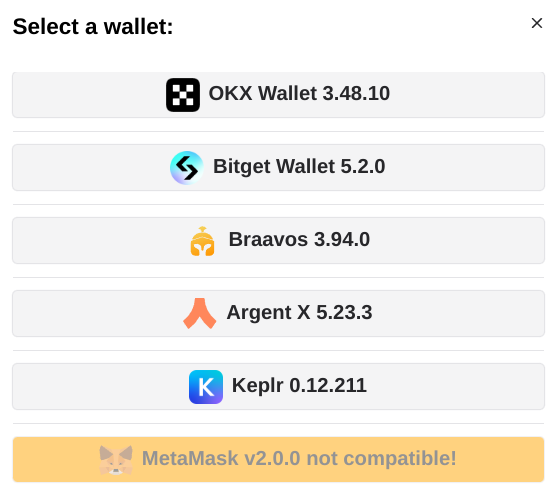
Select a Wallet
You can ask the get-starknet v4 library to display a list of wallets, then it will ask you to make a choice. It will return the SWO of the wallet the user selected.
Using the get-starknet-core v4 library you can create your own UI and logic to select the wallet. An example of DAPP using a custom UI: here, in the example you can select only the wallets compatible with the Starknet Wallet API.
Instantiating a new WalletAccount:
import { connect } from '@starknet-io/get-starknet'; // v4.0.3 min
import { WalletAccount, wallet } from 'starknet'; // v7.0.1 min
const myFrontendProviderUrl = 'https://starknet-sepolia.public.blastapi.io/rpc/v0_8';
// standard UI to select a wallet:
const selectedWalletSWO = await connect({ modalMode: 'alwaysAsk', modalTheme: 'light' });
const myWalletAccount = await WalletAccount.connect(
  { nodeUrl: myFrontendProviderUrl },
  selectedWalletSWO
);
The wallet is connected to this blockchain to write in Starknet:
const writeChainId = await wallet.requestChainId(myWalletAccount.walletProvider);
and to this blockchain to read Starknet:
const readChainId = await myWalletAccount.getChainId();
Use as an Account
Once a new WalletAccount is created, you can use all the power of Starknet.js, exactly as a with a normal Account instance, for example myWalletAccount.execute(call) or myWalletAccount.signMessage(typedMessage):
const claimCall = airdropContract.populate('claim_airdrop', {
  amount: amount,
  proof: proof,
});
const resp = await myWalletAccount.execute(claimCall);

Use in a Contract instance
You can connect a WalletAccount with a Contract instance. All reading actions are performed by the provider of the WalletAccount, and all writing actions (that need a signature) are performed by the browser wallet.
const lendContract = new Contract(contract.abi, contractAddress, myWalletAccount);
const qty = await lendContract.get_available_asset(addr); // use of the WalletAccount provider
const resp = await lendContract.process_lend_asset(addr); // use of the browser wallet
Use as a Provider
Your WalletAccount instance can be used as a provider:
const bl = await myWalletAccount.getBlockNumber();
// bl = 2374543
You can use all the methods of the Provider class. Under the hood, the WalletAccount will use the RPC node that you indicated at its instantiation.
Subscription to events
You can subscribe to 2 events:
accountsChanged: Triggered each time you change the current account in the wallet.networkChanged: Triggered each time you change the current network in the wallet.
At each change of the network, both account and network events are emitted.
At each change of the account, only the account event is emitted.
Subscribe
accountsChanged
const handleAccount: AccountChangeEventHandler = (accounts: string[] | undefined) => {
  if (accounts?.length) {
    const textAddr = accounts[0]; // hex string
    setChangedAccount(textAddr); // from a React useState
  }
};
selectedWalletSWO.on('accountsChanged', handleAccount);
networkChanged
const handleNetwork: NetworkChangeEventHandler = (chainId?: string, accounts?: string[]) => {
  if (!!chainId) {
    setChangedNetwork(chainId);
  } // from a React useState
};
selectedWalletSWO.on('networkChanged', handleNetwork);
Unsubscribe
Similar to subscription, by using the .off method.
selectedWalletSWO.off('accountsChanged', handleAccount);
selectedWalletSWO.off('networkChanged', handleNetwork);
You can subscribe both with the SWO or with a WalletAccount instance.
The above examples are using the SWO, because it is the simpler way to process.
Direct access to the wallet API entry points
The WalletAccount class is able to interact with all the entrypoints of the Starknet Wallet API, including some functionalities that do not exists in the Account class.
A full description of this API can be found here.
Some examples:
Request to change the wallet network
Using your WalletAccount, you can ask the wallet to change its current network:
useEffect(
  () => {
    if (!isValidNetwork()) {
      const tryChangeNetwork = async () => {
        await myWalletAccount.switchStarknetChain(constants.StarknetChainId.SN_SEPOLIA);
      };
      tryChangeNetwork().catch(console.error);
    }
  },
  [chainId] // from a networkChanged event
);

Request to display a token in the wallet
Using your WalletAccount, you can ask the wallet to display a new token:
useEffect(
  () => {
    const fetchAddToken = async () => {
      const resp = await myWalletAccount.watchAsset({
        type: 'ERC20',
        options: {
          address: erc20Address,
        },
      });
    };
    if (isAirdropSuccess) {
      fetchAddToken().catch(console.error);
    }
  },
  [isAirdropSuccess] // from a React useState
);

Changing the network or account
When you change the network or the account address a WalletAccount instance is automatically updated, however, this can lead to unexpected behavior if one is not careful (reads and writes targeting different networks, problems with Cairo versions of the accounts, ...).
It is strongly recommended to create a new WalletAccount instance each time the network or the account address is changed.